


4EVERLAND is a Web 3.0 cloud computing platform that offers an avenue to deploy and manage Applications on the Decentralized Web. Developers can leverage 4everland to not only deploy Applications but also store objects with the 4everland bucket. Such objects can be NFTs which can be pinned on IPFS and also synced on Arewave
Before the current mainstream adoption of Web 3.0, there were very few frameworks that could be used to develop Blockchain Applications but they were not robust or rather simplified enough for developers who are moving to Web 3.0 to be able to build their Applications. By having platforms like 4everland, the process to create, and maintain your application is done in a simplified way to suit the user’s experience.
In this article, we will cover a tutorial on how to build and deploy your decentralized Application on 4everland. For this case, we will be using react js and 4everland will be used to manage our front-end. The Application will use the Ethereum network and it will be written in Reach, a dApp programming language that is simple to learn and has a Javascript syntax.
Local setup
For this set-up, we are going to fork the repository https://github.com/reach-sh/reach-sample-react-app. This repo is a simple React App that runs on the Ethereum devnet and can be a good building block for anyone looking to learn about Web 3.
The Application already has a pre-build configuration and all you need to do is run yarn start and it will be deployed to your local network.
From there, you will be able to view the interface seen above. The App will prompt you to connect to Metamask in order to sign transactions when interacting with it.
Deploying to 4everland
To deploy your dApp on 4everland, you will need to create an account through the official 4everland website. You will be prompted to sign in with your Github Account and once logged in, You will get access to the 4everland dashboard which looks like the image below.
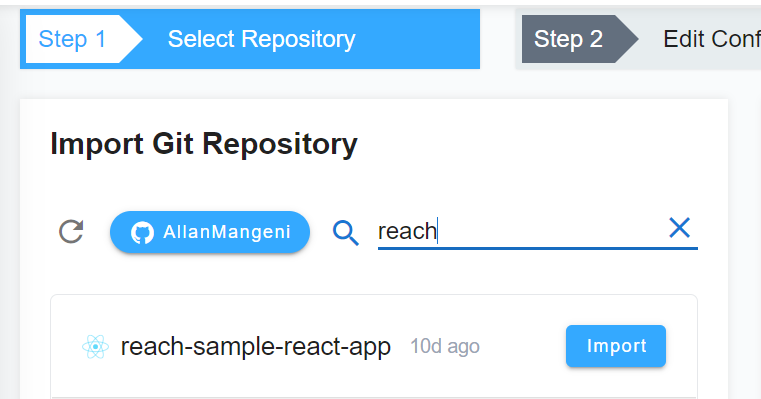
In this section, simply search for the DApp and click import. 4everland automatically knows the framework the Application uses as you can see in the image below.
You will then be redirected to the Basic configuration section. Here you will input your build commands and also select the framework the application is using. For our case, the base command to run our program will be npm run build.
You also have the option to deploy hooks if you wish to extract stateful logic from a component for re-using or being tested independently.
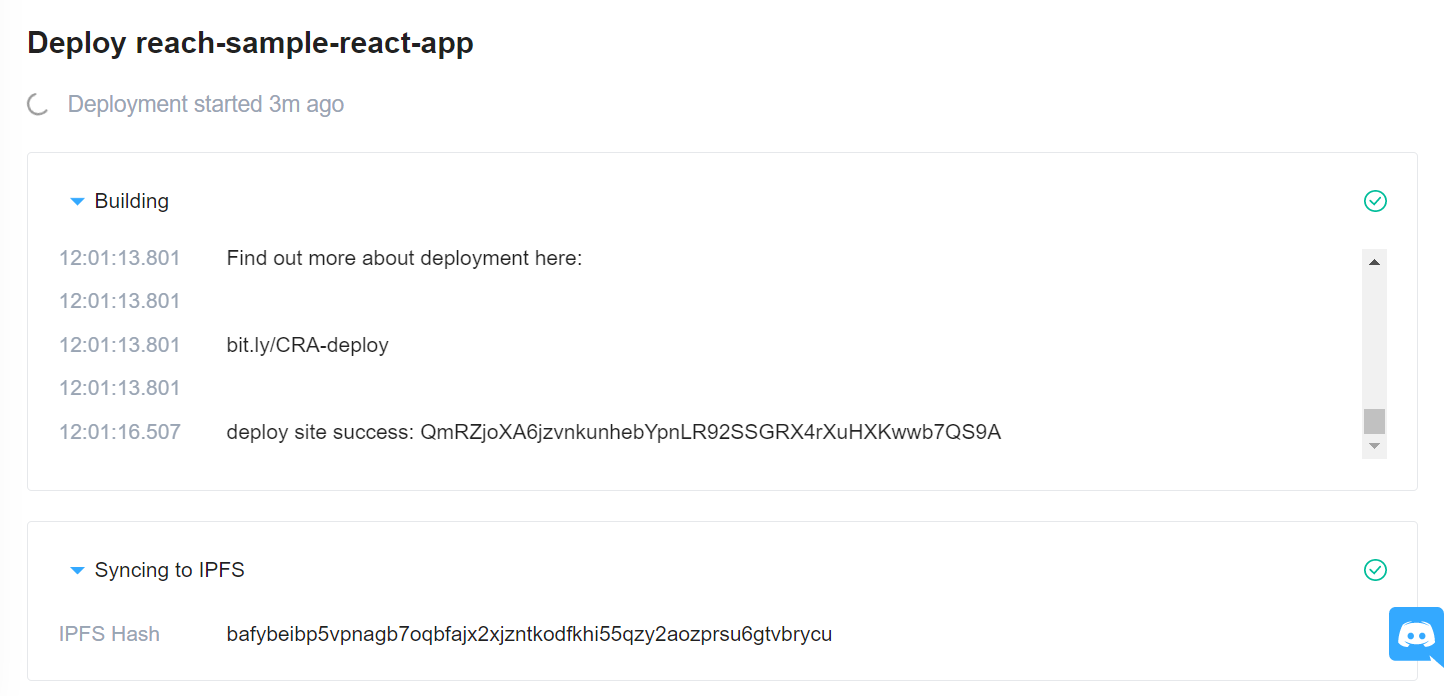
Once the application is deployed, you will get the IPFS Hash which can be used to verify the contents of your Applications are actually stored on IPFS.
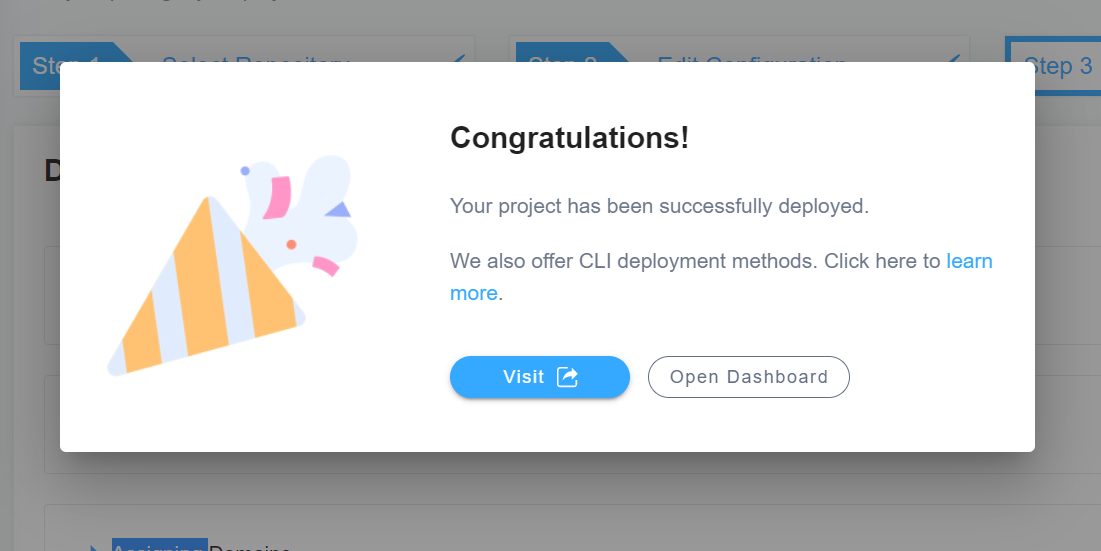
The build time may take a few minutes to complete but once done, you will receive this prompt upon successful deployment. See my deployment here.
Aside from React, there are other frameworks you can deploy on 4everland like Next.js. Vue.js. Hugo and much more. Simply sign up for an account and start your deployment journey on Web 3.0.